Rear Speakers
This is the second loudspeakers I have designed and built. They are a smaller equivalent of my front speakers. I am using them as my rear speakers. The box and filters are designed the same way the front speakers was designed. Therefor I will not cover the design in details here, but I will cover the assembling.
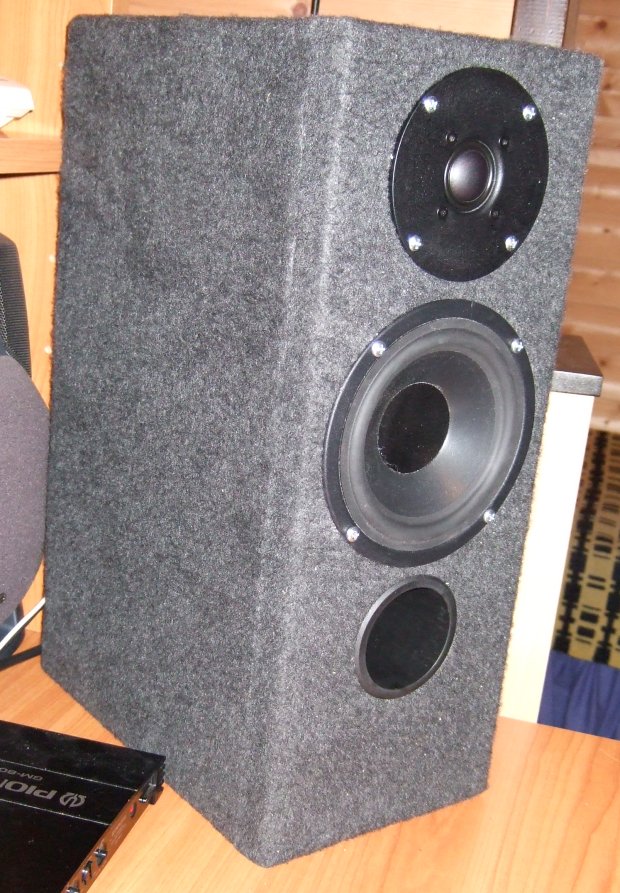
Loudspeaker elements⌗
Since this is a two way system I had to find a tweeter and a bass-midrange to cover the whole frequency range of the loudspeaker. To get as equal sound as my front speakers as possible I decided to use the same tweeter my front speakers is using which is Seas H1189 27TDFC I could not use the same bass-midrange since that would make the box the same since as my front speakers, and I wanted a smaller box. Therefore I decided to use Peerless CSX 145 H which is a smaller similar element.
Box calculations⌗
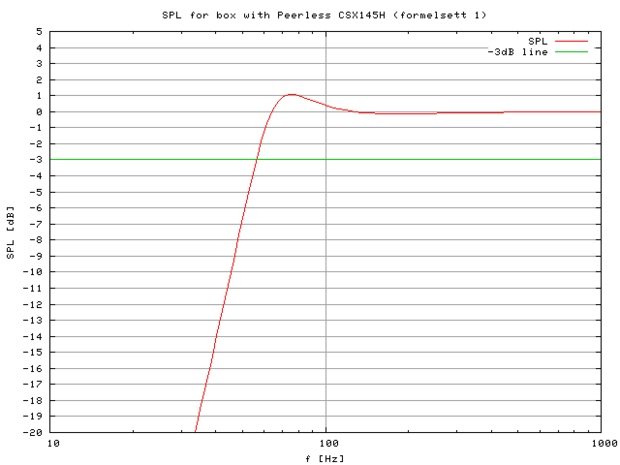
The ideal volume for the bass-midrange element is around 7l. It is impossible to fit everything that goes into the box in such small box, so I had to increase the volume. The smallest box that is big enough is ca. 11l, which is the size I used. The port I used is conical, whit a front diameter of 6.0cm and a back diameter of 5.2cm. The port length is 15cm which tunes the box to ca. 60Hz. The low frequency response is calculated and plotted in gnuplot with this gnuplot script. The resulting frequency response is shown in the picture below.
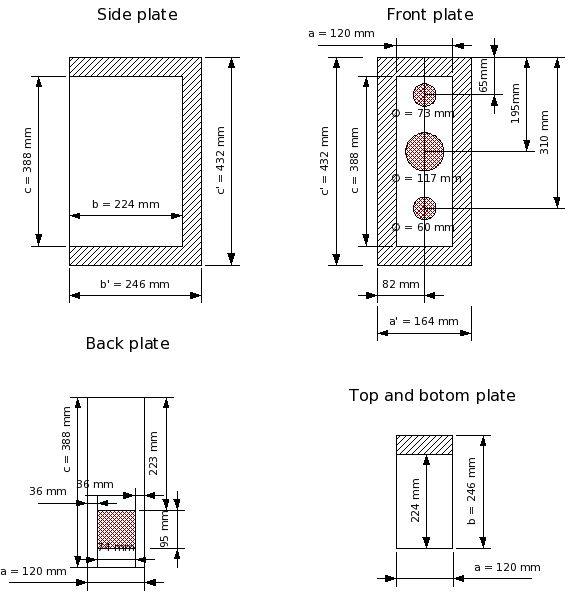
The box is built using 22mm fiber boards. The with is as small as possible to get a good spreading. The depth is deep enough to give enough room in back of the port. The height is high enough to make space for everything in the front plate. This results in a volume of 11l. The figure below shows a drawing of the box.
Crossover filters⌗
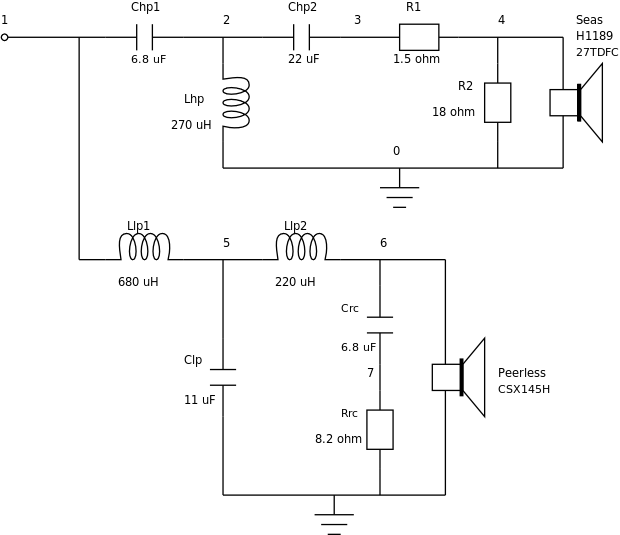
Crossover filters, attenuation circuit and impedance correction is designed the same way as for the front speakers , and are as equal as possible. The resulting circuit with component values are shown in the picture below.
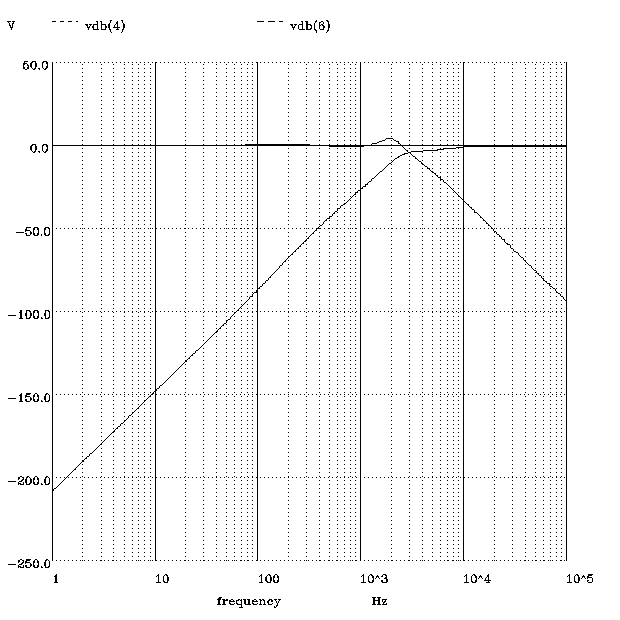
The frequency response is simulated in spice with this Spice script and the result is shown in the picture below.
Assembling⌗
The box is built with 22mm fiber boards. I was lucky enough to get hold on left over boards from construction work, so I did not have to buy any.
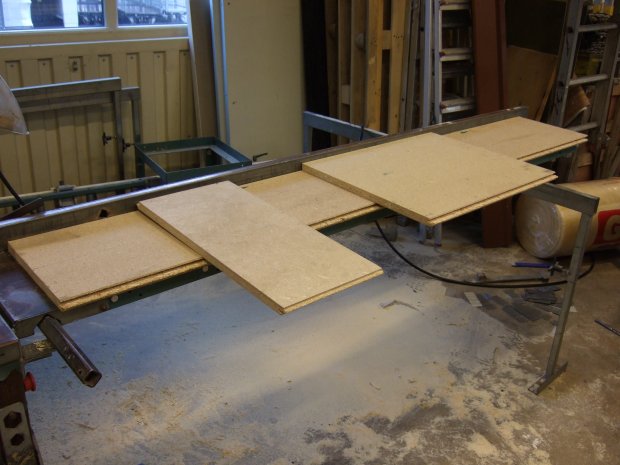
To cut the plates it is practical to have access to an accurate electrical saw. This way it is less work and the plates gets more accurately cut.
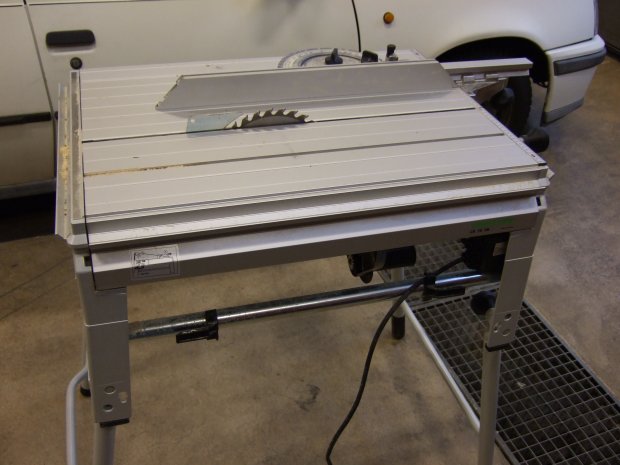
After the boards was cut I glued and screwed them together, except the front plates. Afterwards I use a sander to make all sides smooth.
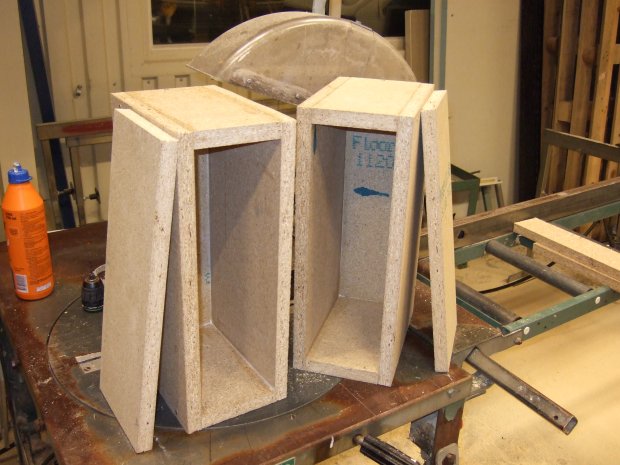
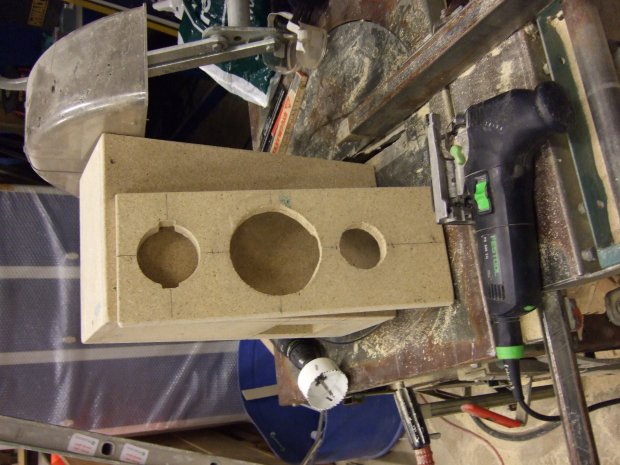
I used a drill and a jigsaw to cut the holes for the loudspeaker elements, the port and the connection terminals.
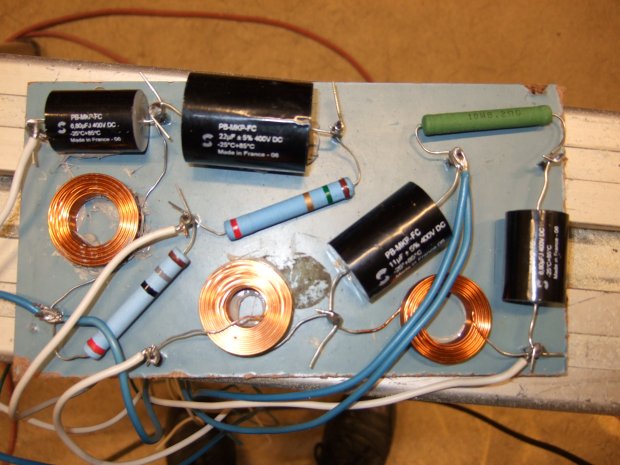
I decided to have the crossower filter in the bottom of the box. To make the filter I drove nails through a thin plate and twinned the components wires around them and soldered them.
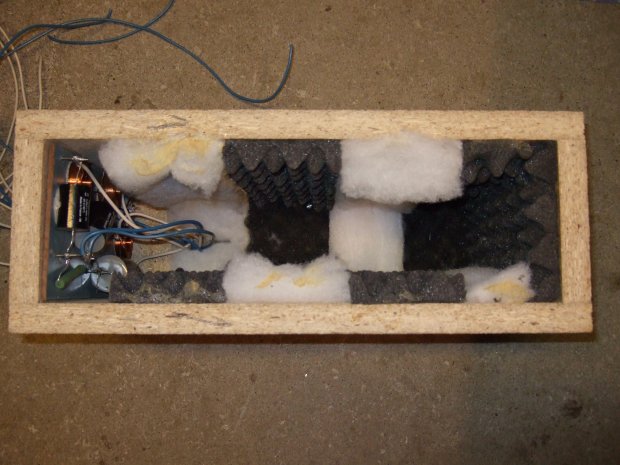
To attenuate the standing waves I used two kind of attenuation material, different material are used at opposite sides. The filter was then mounted to the bottom.
Then everything was done internal, I monted the front plate. I used silicone in stead of glue on the frontplate so as to be able to use a thin knife to separate the front plate from the rest of the box if needed later. The box was then covered using a loudspeaker carpet.
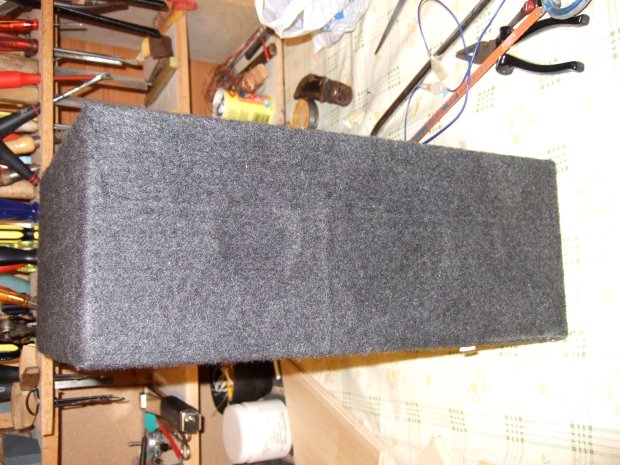
I cut holes in the carpent for the elements, the port and the terminals. Then I soldered the loudspeaker elements to the terminals and mounted everything to the box.
